


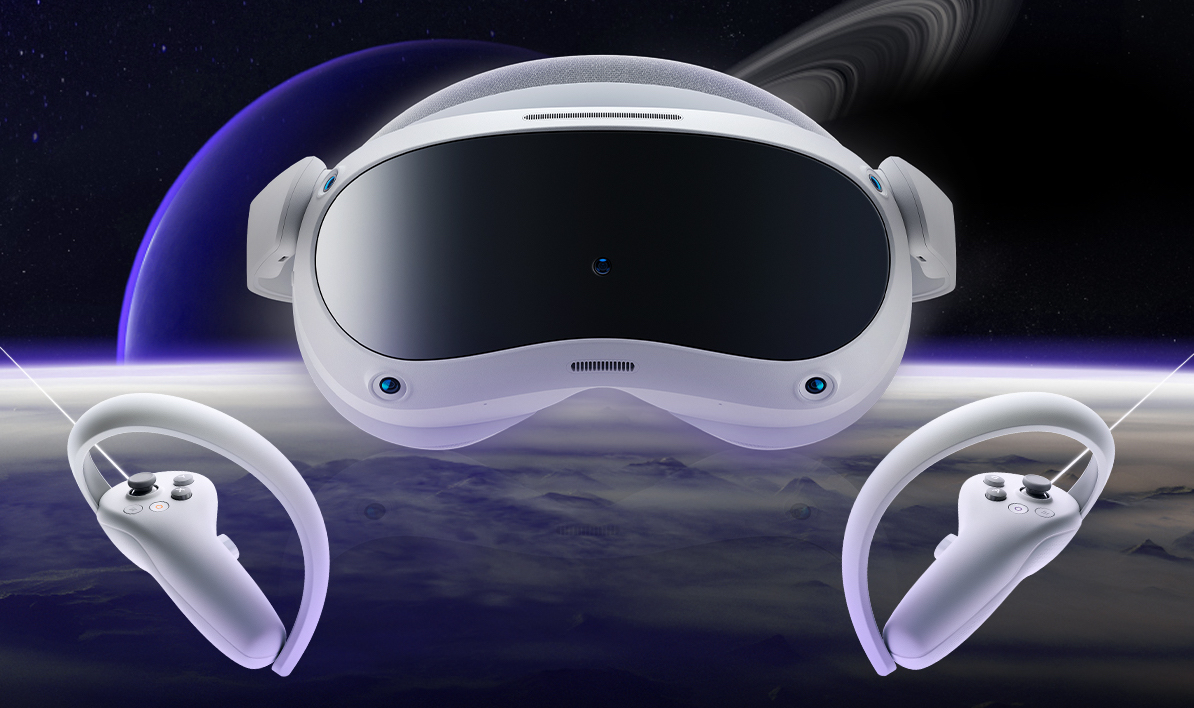
Introduction
Virtual reality applications and games consistently push the boundaries of possibility engaging users in immersive, movement-based environments. While platforms such as the PICO 4 provide an exciting range of games and apps, expanding your choices by connecting to a PC will enhance your experience.
How to Connect PICO 4 VR via USB Cable
Using a USB-C cable is the easiest methods for connecting a PICO 4 VR headset to a PC. Here’s the step by step guide:
- Locate the USB-C Port on the PICO 4. You can find this on the left side of your VR headset just below the headband.
- Plug one end of the USB-C cable into the PICO 4's port and the other end into an available USB port on your computer. Make sure the cable is not overly bent or stretched.
- Download Streaming Assistant for your PC here. Once installed, open Streaming Assistant. Check if your PICO VR headset is still physically connected to your computer via cable.
- Open Streaming Assistant on PICO 4. Turn on your VR headset and launch the app to install it. Once installed choose a connection mode. Locate your computer in the list of available devices and select it. Click on the 'Connect' option. Your PICO 4 VR headset is now ready to use with your PC.
How to Connect Wirelessly
Connecting your PICO 4 headset wirelessly offers freedom and a more immersive experience compared to the wired method. Since there are no cables, you can enjoy a greater range of motion and flexibility during your virtual reality gaming sessions. This simplifies setup and unlocks the full potential of your VR experience.
Use a Virtual Desktop
A virtual desktop is a software application that allows users to access and interact with their computer's desktop environment within a VR headset.

Here’s how you can connect your VR headset to your PC with a virtual desktop:
- Purchase Virtual Desktop in the PICO App store.
- Download and install the 'Virtual Desktop Streamer' application on your computer.
- Turn on your PICO 4 headset and wear it. Make sure it's properly adjusted for comfort and clarity.
- Launch the Virtual Desktop Streamer app on your PC. In this app, select a unique username for your VR headset. This name will be used to identify your PC in the connection process.
- On your PICO 4, open the 'Virtual Desktop' application. Look for the username you set up for your PC or laptop and select it to connect to.
Use a Streaming Assistant
The PICO Streaming Assistant is a software application designed for PICO VR headsets. It facilitates the wireless connection between the headset and a PC.
- Visit the PICO website and download the 'Streaming Assistant' software. Install it on your computer, then open the program.
- When you start the Streaming Assistant on your PC, choose 'WiFi' as the 'Connection Mode'.
- Power up your PICO 4 headset and put it on.
- Access the PICO Store through your headset and download the 'Streaming Assistant' app. Install it on your PICO 4 VR headset.
- Launch the 'Streaming Assistant' app on your PICO 4. Browse the list to find your PC or laptop and select it. Finally, press 'Connect' to establish the wireless connection.
Conclusion
Choosing the right connection for your PICO 4 VR headset—whether USB or wireless—depends on your preference for mobility and simplicity. If you prefer more freedom with your movement, go for wireless using Virtual Desktop or Streaming Assistant. For reliability and ease, a USB connection is ideal. Experiment with both to discover what best enhances your VR journey, and visit the PICO website for more information on making the most of your VR experience.