Introduction
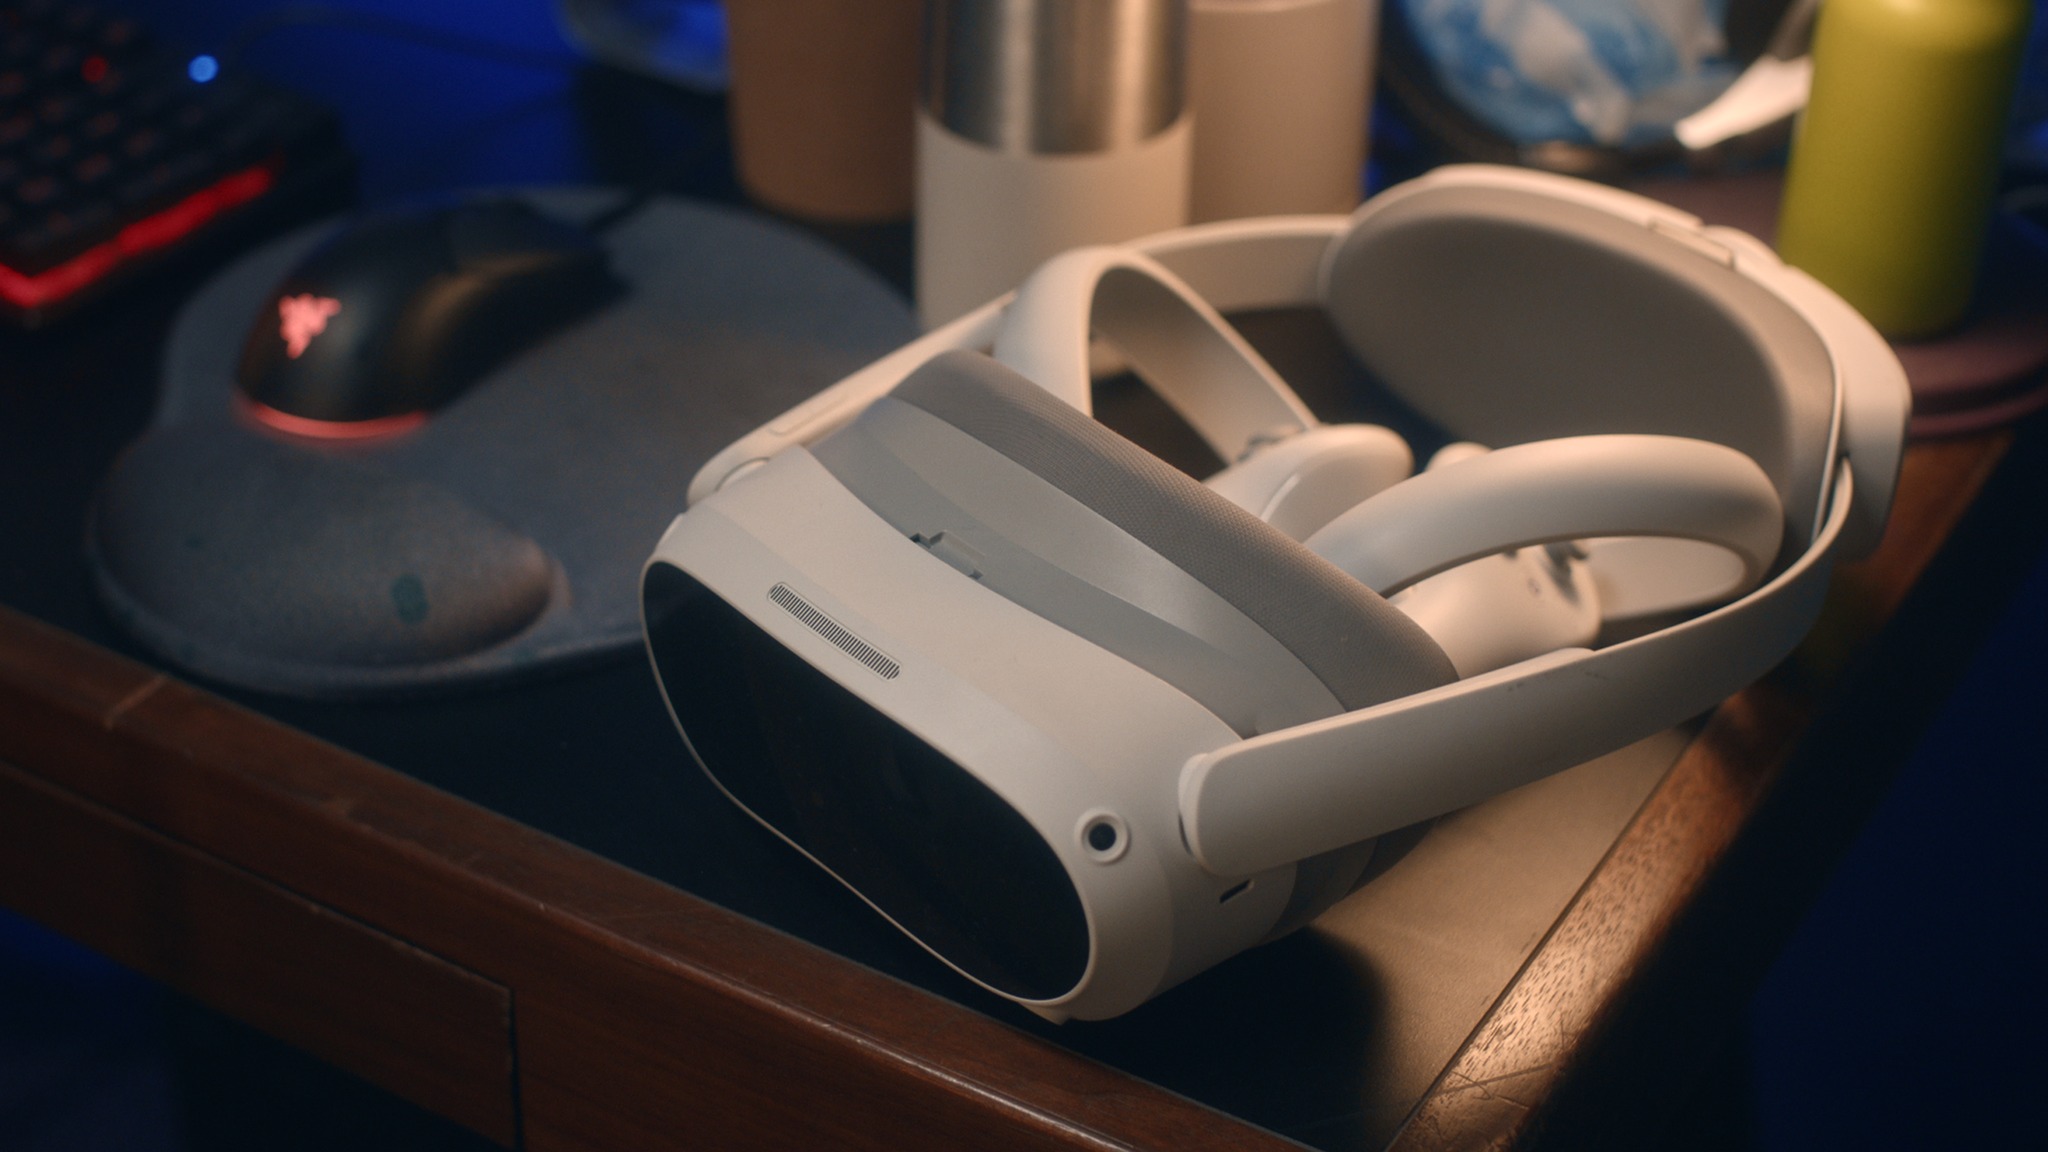
Screencasting is the process of recording your computer screen and presenting it to others, reports the TechSmith Corporation. Remarkably, screencasting is possible with the PICO 4 headset, which is a VR or virtual reality system connecting you to the latest games and experiences. Explore PICO4 cast options, including screenshots, to enhance your digital world.
Screencasting with PICO 4: What Do You Need?
First, screencasting with PICO 4 requires a few steps to seamlessly connect with a smart TV, browser, or app. Always update your PICO 4 system to the latest OS or operating system. Currently, the required version is 5.0 or higher, states PICO.
Next, any screencasting requires a local network where the headset and device share this connection. Depending on the destination device, you might need a Cast for PICO app, PICO Developer Center platform, or Miracast account. Casting can connect on the first try by setting up these preliminary connections.
How to Screencast with PICO 4
A PICO 4 cast uses slightly different connections when choosing a PC or smart TV destination. Follow these basic steps to make a solid connection.
Screencast to Your PC
Initially, use the PDC platform to open up your casting options. Verify that your PC and headset are connected to the same local network. Next, tap the "Run" button for “Cast Device”.
Now, tap "Create Screencast Connection" and give permission to "Screencast to External Devices." From here, you can control the PC's volume and other functions as you cast your headset's view. When you're finished with the cast, tap the "End" button to disconnect.
Screencast to a Smart TV
First, verify that your headset and smart TV share the same local network. Then, select either the Cast for PICO option or a screen mirroring app, such as Miracast, on your smart TV. Next, enter the PDC platform on your PICO 4 headset. Tap the "Connect" button beside the smart TV name listed on the right-hand side. Finally, the screencast should start.
Remarkably, the PICO 4 headset can also receive screencasts from other devices on your network. Simply keep the screencast option open on your headset to become discoverable. Ultimately, sharing screencasts takes a few seconds between users after a proper setup.
How to Screenshot with PICO 4
Tap "End" to stop the screenshot. Initially, this shot remains as a pop-up window. Tap "Save," the shot can be saved to any drive on your connected computer.
How to Record Your Screen with PICO 4
Use the "Quick Settings" menu to access "Screen Recording," such as screenshots. During this process, you tap "Run" and allow the game to continue as your recording captures the action. Tap on "End" to complete the video.
For easy access, all screen recordings are saved as MP4 files, whereas the screenshots remain as JPG files. Find them saved on your connected computer for playback another time. Naturally, you can abandon or delete the files through your PICO 4 cast system.
Conclusion
Once familiar with the PICO 4 cast features, casting to another screen becomes second nature. Ultimately, they're handy tools as you explore the growing VR world. Try screencasting, screenshots, and recording your screen during your next PICO 4 experience today!